Top 5 Mistakes to Avoid When Treating Damp Yourself
Share
Thinking of tackling damp on your own? DIY damp repair is absolutely doable if you avoid these common pitfalls.
Let’s save you some time (and frustration!) with our top 5 mistakes to steer clear of:
❌ 1. Not Identifying the Correct Damp Type
Rising, lateral and penetrating damp need different treatments. Misdiagnosing the issue leads to the wrong fix and the damp comes right back.
✔️ Tip: Refer to our previous blogs or reach out if you’re unsure.
❌ 2. Skipping Surface Preparation
Damp repair isn’t just about applying a product, it’s also about prepping the wall so it can absorb and bond properly.
✔️ Use Sugar Soap to clean grime, grease and old residue first.
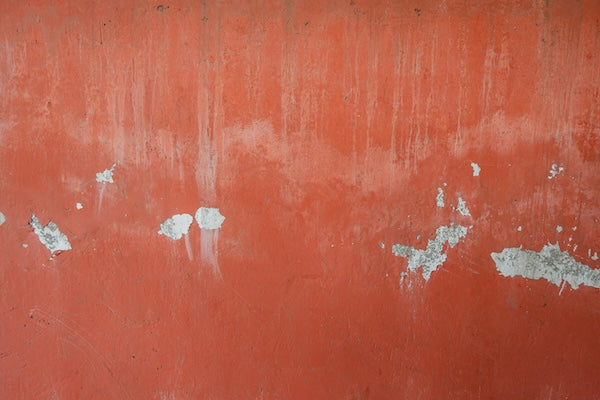
❌ 3. Sealing Moisture Inside the Wall
Painting over damp or using non-breathable materials traps moisture inside, worsening the problem.
✔️ Always use breathable plasters and paints when treating damp.
❌ 4. Not Allowing for Negative Pressure
Lateral damp (especially in below-ground areas) pushes moisture laterally.
✔️ Products like RefurbiSOL are designed to withstand negative pressure, not just block it.
❌ 5. Using the Wrong Additives or Skipping Them Entirely
Regular plaster won’t cut it when walls are damp.
✔️ RefurbiCRETE and RefurbiSOL improve flexibility, adhesion and drying time, essential for lasting repairs.
✅ Pro Tip:
Our DIY Damp Kits are tailored to each type of damp and include everything you need (except the sand, cement, and a little elbow grease).
📦 Available online or for pickup at our Booysens, Gauteng location.